
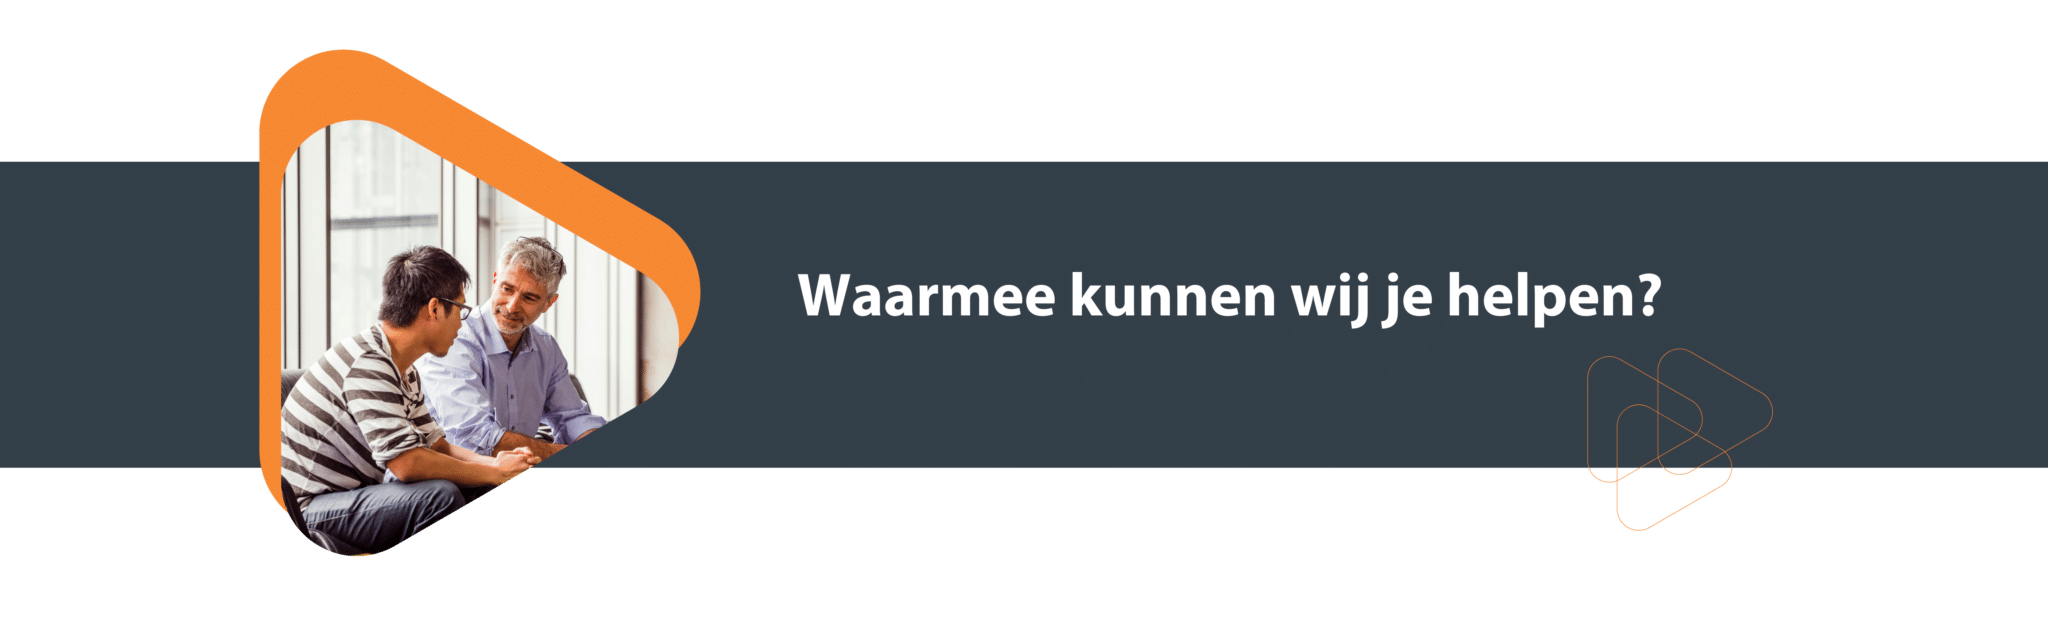
EVIE GENERAL
Evie is short forE-health Vear IEeveryone.
Evie supports healthcare professionals of the Netherlands working in general practitioner care, the social domain and the generalist basic mental health care in successfully applying eHealth in their daily work.
In addition, Evie encourages and facilitates residents of the Netherlands in their own process toward optimal mental resilience.
Each healthcare professional for whom an account is created on Evie, can of course use Evie. If you do not have an account yet and is your organization connected to Evie? Ask internally how you can obtain an account or send us an email.
Evie is often used as blended care. That means combining Evie's e-health modules with face-to-face conversations. E-health then works in support of the conversations and it increases the effectiveness of the treatment.
Evie also provides a patient with support for sustained self-efficacy. The use of e-health in general improves demand clarification because the patient has more self-insight. In addition, the information from the conversations and exercises sticks better, because the patient also works on it at home.
You can request information without obligation through our website. Fill in the contact form at the bottom of this page. We take then contact you within two business days to discuss how you can start using Evie.
LOGIN/MY ACCOUNT
Activate account and login
If you as a care provider want to use Evie, you need a professional account on an Evie platform. Your organization will know the login link. If it is not known, please contact the helpdesk of Evie. Is your organization interested in Evie? Vul then the contact form. We will contact you within two working days to discuss how you can start using Evie.
If you want to use Evie, you need a professional account on an Evie platform. In your organization the login link is known. If it is not known, please contact the helpdesk.
Log in to the Evie platform on which you have an account and then follow the following guide.
Want to adjust the settings for receiving the 2FA codes? Then go to:
- Settings
- Two-step authentication
- Customize two-step authentication settings
- Enter your password
- Choose how you want to receive authentication codes
If you don't manage to adjust this yourself, you can always send an e-mail to the helpdesk asking if we can reset the 2FA.
Problems logging in
Check if maybe you made a typo in the e-mail address and/or password? Otherwise, try again.
If you forgot your password, you can click on the login page on 'Forgot your password?'. You will then be asked to enter an e-mail address. Enter here the email address you have an account with Evie. You will receive an email containing a button to create a new password. The button in the email is one-time and valid for 1 hour.
It can sometimes take longer before you receive this e-mail. If you haven't received anything at all, please check first whether it has accidentally ended up in the spam box or junk mail. If it is not there either, send an e-mail to the helpdesk. The address of the helpdesk is listed at the bottom of the platform.
You clicked on 'Forgot your password?' and entered your email address, but you do not receive an email to reset your password. Please check the following points:
- Did you make a typo in the e-mail address and/or password?
- Did the e-mail end up in the spam box? Check the spam box or junk mail.
- Was the correct e-mail address used when creating your account? Ask the helpdesk to check your email address for correctness and/or spelling errors
- Are you logging into the right platform? Check the web address (URL) of the platform. If necessary, ask the help desk what the correct web address is. The web address can also be found in the welcome email.
When your account is deactivated, it means that your account is inactive and you cannot log in to it. Your data has not been deleted. You can ask the helpdesk to reactivate the account.
- First, check that his/her account was created with the correct email address and that the client is trying to log in with that email address. Open the client account and check at 'Details' the client's email address. If the e-mail address must be modified, click on 'Modify'.
- Resend the welcome email. Your client can then reset his or her password. You send a new welcome email by opening the client account and going to 'Details'. Your client will then receive an email containing a button to create a password. The button in the email is one-time and valid for 7 days.
- Is the e-mail address correct but the client is not receiving e-mail? Ask if the client can check his/her spam box.
- Verify that the client is logging into the correct platform. Ask for the web address the client is trying to log into and refer to the correct platform if necessary.
There is sometimes some delay in receiving a text message. Please wait a few more minutes or try again later. The helpdesk unfortunately cannot send a new SMS code. If you still want to use the platform right away, please use your recovery codes, which you received while installing the two-step authentication.
If you experience more frequent problems that the SMS arrives later or not at all, and therefore you still want to switch to an authentication application, you can set it up yourself in the following way:
- Settings
- Two-step authentication
- Customize two-step authentication settings
- Enter your password
- Choose how you want to receive authentication codes
Yes you can. Send an email to the helpdesk to see if your 2FA can be reset. You will receive an email as soon as it is reset. If you then log in again, you can reinstall the 2FA. Make sure to save the recovery codes you receive.
Have you used all the recovery codes and want new ones. Then request them in the following way:
- Go to Settings
- Two-step authentication
- Creating new recovery codes
Send an email to the help desk asking for the email to be resent. It will be sent as soon as possible, but at the latest within 2 business days.
Notifications and emails
Professionals have the ability to change call notifications. This can be done in the following way:
- Go under profile to 'Settings'
- Click on 'Call notifications'
- Change the notifications to suit your needs. Call notifications can be turned off altogether.
Delete account
Please report this to the Evie help desk. Your account will be deactivated. Please make sure that you inform all clients in in advance disconnectt from your account.
CLIENT MANAGEMENT
Manage caseload
Log in to your e-health account. Go to the heading 'Clients' and select 'Cadd patient'. After you have filled in all the details of the client choose add. The account of the client is now created and the client will receive an e-mail in his/her mailbox.
If a client is no longer in treatment or under supervision with your organization, we recommend disconnecting rather than deactivating the client. This way, the client can still log into the account, review data or start online training sessions without supervision.
Deactivation ensures that the client can no longer log in. However, his or her data will be preserved. To do so, go to the client account and click on Details in the left menu and then click on Deactivate. You can reactivate a deactivated account at any time.
When you have finished treatment, you can disconnect the client. This keeps your caseload organized. Disconnecting is done as follows:
- Go to 'Mmy clients'
- Find the client there
- Go link in the overview to 'Professionals'
- Press manage relationship
- Check the modules you want to disconnect yourself from
- Press the blue button 'Disconnect tools'
- Disconnect
- After this you are disconnected from the client
It is possible to transfer/transfer a client account from a colleague. You do this, for example, when a colleague or yourself will be absent or out of service for a long time.
You take the following steps to transfer a client:
Step 1: First, link the caregiver who will take over your client to the client account:
- Open the client account
- Click on 'Professionals' in the left menu
- Then click on 'Connect caregiver' and select your colleague.
Step 2: Next, you must transfer the tools you supervise to your colleague:
- Open the client account
- Click on 'Professionals' in the left menu
- Then click on Manage relationship by your own name and tick all tools, select the new caregiver and click on the button 'Transfer tools to caregiver' button..
This is an important step. If the tool is not transferred, all tools are considered "unassisted. Feedback moments are not automatically turned off. When a client has a send moment, this send moment will not arrive to anyone. The client will then not be able to proceed with the tool.
Step 3: Finally, disconnect yourself
Problems in creating a client
You can search for a client within your own caseload or search outside your caseload. If you have treated the client before, it can be listed under 'My clients'. If the client has not been treated before but has been treated by someone else, follow these steps:
- Go to 'Aother clients'
- Under motivation, add the following: Client already has an account
- Search by email address, name or date of birth
- Search
- Click on the client's name
- Click on the button 'Connect me'
A pairing request is now sent to the client. The client must first give permission to pair you as a supervising social worker. The client can also decline the request.
If you still can't figure it out contact the helpdesk. The helpdesk email address is listed at the bottom of the platform.
This can have a few causes:
- Did it perhaps end up in the client's junk mail? Have the client check this.
- Is the client's e-mail address correct? Check this to be sure. There may also be a delay in the mail coming in.
- The client's account is set to inactive. Once an account is set to inactive, the client no longer receives emails from the platform. First get the account reset to active and then resend the welcome email. If you do not manage to set the account back to active, send an email to the helpdesk.
Yes, you can do this yourself by following the steps below:
- Go to 'Clients'
- Click on 'Other clients'
- Add under motivation: Client already has an account
- Search by email address, name or date of birth
- 'Active' and 'Inactive' ' on the left side.
- Search
- Click on the name of the client
- Click on the button 'Link me'
- Click in the left row on 'Details'
- Click on the button 'Activate'
- Now the client is activated again
If the above steps do not work, please send an e-mail to the helpdesk and include the client's e-mail address.
With an active account, this mail may end up in the junk mail. Have the client check this.
With an inactive account, the client will indeed not receive mail. In that case, go to the frequently asked question Can a client's account be reactivated?
FUNCTIONALITIES
Navigate through your account
When you log in you will be taken to the home page. This is the overview of your account. From your homepage you can easily click through to client accounts or open tasks/conversations. What do you see on your homepage?
- (Number of outstanding) tasks
- Your (ongoing) conversations
- Clients (your caseload)
- Fellow professionals
Under the tab 'Catalog' you can search which tools are available for your platform.
Search bar and filter
You can search for keywords in the search bar. In addition, you can filter by:
- Suitable for mobile app
- Suitable for self-help
- Type of tools
- Age groups
- Form of care
- Themes
- Complaints and problems
Search Results
In the search results, you see all the tools that meet your search criteria:
- You see what type of tool it is (diary, module, screening, etc.). and whether this is a self-help variant
- A short description of the module. Want a detailed description of the tool? Then click on the title.
- You can see if the module is suitable for the mobile app in addition to the also web. This is shown in purple
- You see the keywords on which the tool can be found.
Tool description
By clicking on the title you can further view the content of the tool:
- You will find an overview of all the chapters and additional information
-The chapters can be expanded to see which sessions are under them. If you click on the session, you will see the content of the session
- You can see if automatic triggers are added by the tool such as diaries, action plans, modules, etc. (under the heading 'Adds')
- Under the heading Fits to' you will find an overview of filters that fit this tool (such as form of care, age group, theme)
Under the tab 'Tasks' tab you will find an overview of all open tasks. Tasks disappear when the tasks are completed. If you have multiple tasks and want to look up a task quickly, you can use the search bar. You can sort your task by task, description or date received by clicking on the sorting arrows.
The Evie platform provides secure communication between clients and caregivers. For example, you can send secure messages. To send messages you start a conversation. In this conversation all participants can send 1 or more messages.
For a social worker these are:
- All clients you are linked to
- All professionals in the platform
- Guests that the professionals can invite (if activated on the platform)
Under the tab 'Clients' tab you will enter your client overview, your caseload. Here you can see all the clients that are linked to you within Evie.
In this overview you can:
- Search for clients by name, email and ID
- Filter on status (active and inactive accounts)
- Filter by gender
- Filter on relationship to the client (if you are both Caregiver and Supervisor )
- Filter by label (if present)
- Sort by name, date of birth, last login date, creation date
The client overview provides access to the clients you are linked to ('My Clients'). Clients you are not linked to you can - if necessary - search through the tab 'Other clients. For privacy reasons, you have to enter a motivation why you want to search outside your own caseload. Once you have entered this motivation, you can search by:
-Name
- Email address
- ID
- Date of birth
Under the tab 'Professionals' you will find the professionals added to the platform. You can search for a professional in several ways:
- Type (part of) the first or last name or identification number in the open search field
- Sort up or down by the columns in the table (last name, first name, creation date, last login)
- Filter by group
- Filter by labels (if applicable).
- Filter by account status (active or inactive).
- Filter by presence/absence
Evie platform
Evie's E-health treatment modules are used as support alongside your face-to-face contacts. As a care provider, you can choose from a large catalog of all kinds of support tools. A client can also get started with online self-help. In this way, every client has his or her own offer, appropriate to his or her symptoms.
The modules consist of psychoeducation, videos and illustrations, exercises and examples. With the diaries daily thoughts and memories can be recorded. This provides insight into patterns and progress of the client. Action plans help the client to set and achieve concrete goals. And finally, there are a number of questionnaires available that you can use.
It is not possible to delete a module in its entirety once it has been opened. If the module has not yet been opened by the client, you can delete it in the following way. We distinguish between mobile modules, browser-only modules and diaries.
Mobile modules
You remove the mobile modules with these steps:
- Open the client account and click on 'Module'
- Open the appropriate module and then click the cog icon
- Click on 'Vremove module list'. The client receives a notification email that the module has been removed. If the client has already opened the module, it will also say at the bottom that the module cannot be removed.
Browser-only modules
If you accidentally prepared an incorrect module you can do the following:
- Go to the module in the client account
- Open the relevant module and click on 'Sedit essie'
- Abort the active session (button 'Aabort')
- Remove all remaining sessions from the module
- Save the changes
Diaries
As a practitioner, you can archive a diary. You can do it like this:
- Go to the journal in the client account
- Click on the button 'Archive'
- The journal is immediately archived and the client can no longer complete the journal.
This is unfortunately also not possible. It is only possible to view already completed exercises.
Alternatively, you could assign the module to the client again and then select only the chapters that the client wants to do again.
Have you not used the Evie platform before? Then an e-learning can be requested with your registration. With online exercises you will learn step by step how Evie works.
In case you already have an account but still want to follow the e-learning? Then send an e-mail to the helpdesk. In addition, together with your account on the Evie platform, you will get an account on the training platform. Here you can practice what you have learned in the e-learning.
Self-help modules (or online training) are different from other modules. The modules do not have to be added by the counselor but can be started by the client himself. The client can work independently on a module of his or her choice. The modules are designed so that they can be completed without guidance. But when a client still needs feedback, he/she can always use the chat function to contact his/her counselor.
As a caregiver, however, it is possible to view the modules. They can be found in the client account under Modules. The modules are then unguided. If you wish, you have the option to make the modules supervised and to turn on the feedback moments. You can do this by clicking on the gear icon.
As a caregiver, you can also assign self-help modules to the client. You have in the catalog the search filter 'Suitable for self-help'. When you as a caregiver add a self-help module, you become the supervisor of the module.
The prevention website Evie.co.uk helps visitors by offering articles, videos, podcasts, exercises and training. These can get visitors thinking and provide tips to get started on this topic themselves.
Here one can indicatewhich topics Evie can help with.
Evie is supported from regional collaborations between general practitioners, poh-ggz, municipalities and mental health organizations. Some regions offer Evie's online trainings for free to their residents? Residents can see if these trainings are available for their region by entering their zip code on the results page of Evie.co.uk.
Video calling
Are you and conversation partner(s) online in the platform? Follow the following steps to start a conversation.
Step 1: Click on 'Start conversation'
Step 2: Then click on 'Start video call'
Step 3: Give permission to use your camera and microphone
Step 4: The conversation takes place
App
There is currently no app for caregivers: only clients and loved ones can use it. However, as a caregiver you can navigate to the platform via your mobile phone in an easy and fast way by making a shortcut. How to do this can be read below.
Android phone: To easily access the platform via your Android phone (e.g. Samsung, Google, Xiaomi, Fairphone etc.) you can create a shortcut. To do so, follow the steps below:
- Open the browser on your mobile and go to the Evie platform where you have an account
- Open the page you want to create a shortcut to
- Open the browser menu via the 3 dots in the upper right corner
- In the menu that now appears, you can create the shortcut via "Add to home screen/Add to Home screen" The notification may be slightly different by browser or settings on your mobile but they are similar names.
- After this, choose or change the name of the shortcut and tap 'Add'.
- Add to Home screen and tap Add
- You can now find the shortcut on one of your home screens
IOS (iPhone) phone: To easily access the platform via your iOS phone (iPhone), you can create a shortcut. To do so, follow the steps below:
- Open the browser on your mobile and go to the Evie platform where you have an account
- Open the page you want to create a shortcut to
- Tap the middle icon (the one that stands for "share
- Scroll down and click "Put on Home Screen" or " Add to Home Screen.
Depending on your settings and browser, this may be a similar message
- You can now change the suggested name of the shortcut if necessary
Then click on ' Add
- The shortcut is now on one of your home screens
App
Evie is via the app from 'Minddistrict' available. This can be downloaded via the App Store or Google Play. So search in the App Store or Google Play for 'Minddistrict' and log in here with your 'Evie-account'.
OTHER
Minddistrict (supplier of the Evie e-Health platform) strives for optimal operation and security of the platforms and therefore supports only recent safe and stable versions of the following browsers:
- Google Chrome
- Firefox
- Microsoft Edge
- Safari on macOS
When an internet browser no longer supports a proprietary version, Minddistrict goes along with this and they will also no longer support that version. This is for security reasons: no longer supported browser versions can be unsafe.
First, you can visit the Frequently asked questions page page. If your question is not listed, you may contact the helpdesk. The e-mail address is at the bottom of each e-health platform.
Minddistrict has taken strict security measures to protect all data and the privacy of our users. You can read more information in the security statement here.
Also read Doctor Ehealth's blog on the Minddistrict website. He explains in an accessible way exactly what security is like. He also explains what you as a user can do yourself to properly protect your online data.
Minddistrict adheres to the European privacy legislation, the AVG. The Personal Data Authority has the power to check this at any time and request evidence of this.